7 Easy Steps to Make Ice Cream in a Bag
Craving homemade ice cream but worried it’s too complicated or time-consuming? You’re not alone. Many people struggle to find easy, quick ways to make delicious ice cream without fancy equipment or long wait times.
Luckily, making ice cream in a bag is a simple, fun solution that anyone can try at home.
Making ice cream in a bag is simple and fun! First, gather your cream, milk, sugar, and flavors. Mix them in a small bag.
In a larger bag, add ice and salt. Seal both bags tightly, then shake the larger one for about 5-10 minutes. Once it hardens, check your ice cream’s consistency.
If you’re feeling adventurous, try different flavor combos for a tasty twist. Keep going to uncover more tips and tricks for the perfect homemade treat!
Key Takeaways
- Combine heavy cream, milk, sugar, and flavorings in a bowl. Whisk everything until the sugar dissolves completely.
- Pour the mixture into a smaller zip-top bag. Seal it tightly to prevent any leaks.
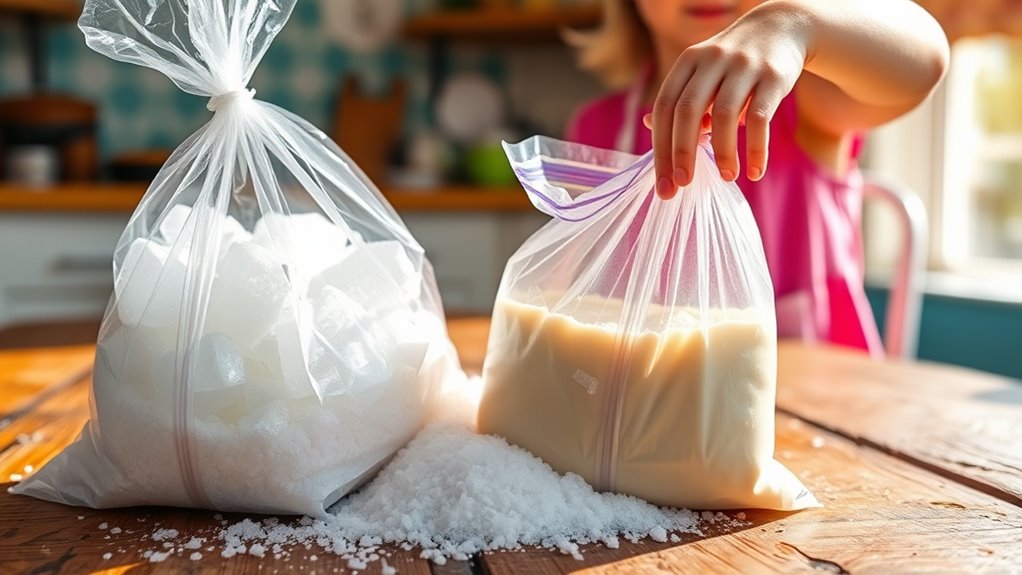
- Fill a larger zip-top bag with ice and salt. Then, place the smaller bag inside the bigger one.
- Shake the bags vigorously for 5-10 minutes. Keep going until the mixture thickens into ice cream.
- Remove the smaller bag and wipe off any salt. Now, enjoy your homemade ice cream with optional mix-ins.
Gather Your Ingredients and Supplies
To make ice cream in a bag, you’ll need just a few essential ingredients and supplies. Start with your favorite cream flavors like vanilla, chocolate, or even strawberry. You’ll also need milk and sugar to create that delicious base.
For supplies, grab a large zip-top bag and a smaller one. The smaller bag should hold your ice cream mixture, while the larger one will contain ice and salt to help freeze it.
When choosing bag sizes, make sure the smaller bag fits snugly inside the larger one. This setup keeps your ice cream mixture contained while allowing the freezing process to happen effectively.
Don’t forget to have a towel or mitt nearby because the bag can get cold! Once you’ve gathered everything, you’re ready to mix and create your tasty treat.
Enjoy the process and get ready for some homemade ice cream fun!
Prepare Your Ice Cream Mixture
Mix your ingredients in a bowl to create the perfect ice cream base. Start with heavy cream, milk, sugar, and a splash of vanilla extract for flavor. These ice cream basics form a rich, creamy foundation. Use a whisk or a hand mixer to combine everything thoroughly. This is where your mixing techniques come into play. Ensure no sugar granules remain, as they can affect the texture.
If you want to get creative, feel free to add in chocolate chips, fruit purees, or your favorite mix-ins at this stage. Just remember to fold them in gently so they distribute evenly without disrupting the smoothness of your base. Once everything’s well blended, taste your mixture; you can adjust sweetness or flavor as needed. After you’re satisfied with the flavor, it’s time to move on to the next step in making delicious ice cream!
Get Your Ice and Salt Ready
To make your ice cream, you need to get the right ice and salt ready. Picking the right type of ice and measuring your salt just right is key for that perfect texture. So, why do these ingredients matter so much? Let’s find out and see how to get them prepared.
Choosing The Right Ice
While you might think any ice will do, choosing the right type can make a big difference in your ice cream-making process. The texture of the ice affects how quickly your mixture freezes, which impacts the final creaminess of your treat. Here’s a quick guide to help you decide:
| Ice Type | Texture |
|---|---|
| Crushed Ice | Fast freezing |
| Cubed Ice | Slower freezing |
| Block Ice | Long-lasting chill |
| Dry Ice | Extremely cold |
For the best results, go for crushed ice. It surrounds your ice cream mixture evenly and creates a smoother texture. Remember, the right ice not only speeds things up but also makes your homemade ice cream experience better!
Importance Of Ice Salt
Although you might be enthusiastic to plunge into making ice cream, don’t overlook the essential role of ice salt. Understanding ice properties and the right salt types can greatly impact your creation.
Salt lowers the freezing point of ice, allowing your mixture to chill faster and more effectively. This temperature control is vital for achieving smooth texture improvement and flavor augmentation in your ice cream.
By carefully calculating salt ratios, you can maximize the benefits of ice cream science, ensuring a creamy consistency. When you combine the right amount of ice and salt, you’re setting the foundation for delicious homemade ice cream.
Measuring Ingredients Accurately
Use accurate scales for precise quantities, especially regarding sugar and salt. This helps guarantee you get the right ingredient ratios, preventing your ice cream from being too sweet or salty.
For liquid ingredients, fill your measuring cups to the appropriate lines, and for dry ingredients, level them off with a straight edge. Pay attention to these details, and you’ll create a creamy, delicious treat that everyone will love.
Seal the Bags and Shake: Let’s Get Started
Now that you’ve got your ice and salt, it’s time to seal the bags and get shaking! You’ll want to choose the right bags—sturdy ones that won’t leak are key to keeping everything contained. Make sure to seal them tightly so there’s no mess while you shake. This part is where the magic really happens!
Choosing The Right Bags
If you prefer something eco-friendly, consider reusable bags; they’re great for multiple uses. Disposable bags, like sandwich bags, can work in a pinch, but they may not withstand the ice and salt mixture as effectively.
Make certain the bags you choose seal tightly to keep the ingredients from spilling out. With the right bags, you’ll have a smooth and enjoyable ice cream-making experience!
Proper Sealing Techniques
Once you’ve selected the right bags, it’s time to seal them properly. Using effective sealing techniques is essential to guarantee your ice cream mixture doesn’t leak while you shake it up. Here’s how to do it right:
Choose the right bag types: Use durable, resealable bags for best results.
Remove excess air: Squeeze out as much air as possible before sealing.
Seal securely: Press the seal firmly, making sure it’s completely closed.
Double bag for safety: Place the sealed bag inside another bag to prevent leaks.
Is Your Ice Cream Ready Yet?
Have you been checking the clock, wondering if your ice cream is ready yet? Ice cream timing is essential in this process. After about 5 to 10 minutes of shaking, it’s time for a little taste testing.
Carefully open your outer bag to avoid spilling any salt or ice. Scoop a bit of the mixture from the inner bag and give it a try. If it’s still too liquid, seal it back up and keep shaking for another few minutes.
Fun Flavor Variations for Ice Cream in a Bag
Ice cream in a bag opens up endless possibilities for flavor variations that can excite your taste buds. You can play around with unique flavor combinations and seasonal ingredients to create something truly special. Here are a few fun ideas to get you started:
- Mint Chocolate Chip: Add fresh mint leaves and chocolate chips for a revitalizing twist.
- Peach Basil: Use ripe peaches and a hint of basil for a delightful summer treat.
- Cinnamon Roll: Mix in cinnamon and bits of pastry dough for a cozy dessert experience.
- Lavender Honey: Infuse your ice cream with lavender and drizzle in honey for a floral flavor.
These variations not only satisfy your cravings but also put a fun spin on the classic treat. Experimenting with flavors makes each batch a new adventure, so don’t hesitate to get creative!
Essential Tips for Creamy Ice Cream Success
To achieve creamy ice cream that rivals your favorite shop, it’s important to pay attention to your ingredients and technique. Start with high-quality cream and milk; the fat content greatly impacts the creaminess factors. Don’t skimp on sugar, as it helps create a smooth texture by lowering the freezing point.
Temperature control is vital throughout the process. Chill your ingredients in the fridge before mixing, and make sure your ice and salt mixture is icy cold before placing your bag inside. This helps your ice cream freeze evenly, leading to a better texture.
Mix well but don’t overdo it; a few gentle folds will suffice. Finally, let your ice cream sit for a few minutes after mixing to allow the flavors to meld. With these tips, you’re on your way to making deliciously creamy ice cream in no time!
Frequently Asked Questions
How Long Does It Take to Make Ice Cream in a Bag?
It takes about 10 to 15 minutes to make ice cream in a bag, depending on the bag sizes you use and the ice cream flavors you choose. Start by mixing your ingredients in a smaller bag, then place it in a larger bag filled with ice and salt.
Shake it vigorously, and you’ll soon enjoy a delicious treat! Just remember, the more you shake, the creamier your ice cream will be.
Can I Use Non-Dairy Milk for the Ice Cream Mixture?
Absolutely, you can use non-dairy milk for your ice cream mixture! Imagine a hot summer day, and you’re craving something cold and creamy.
With non-dairy options like almond or coconut milk, you can create delightful flavor variations. Picture a rich coconut ice cream topped with fresh mango. Delicious!
Just remember to adjust your ingredients slightly for the best texture, and you’ll enjoy a rejuvenating treat that everyone can savor, no matter their dietary needs.
What Type of Salt Is Best for This Recipe?
For this recipe, rock salt works best because it lowers the freezing point, helping your ice cream freeze faster. While kosher salt can also work, it’s less effective in achieving that frosty texture.
If you’ve got rock salt on hand, go for it! Just make sure you don’t mix up the salts, as using table salt could affect the flavor and texture of your delicious homemade ice cream. Enjoy!
How Do I Store Leftover Ice Cream?
You’ve got leftover ice cream? What a shocker! To store it, use the best containers, like airtight glass or plastic ones, to keep it fresh and prevent freezer burn.
Scoop the ice cream into these containers, leaving a little space at the top for expansion. Seal them tightly and pop them back in the freezer.
Just remember, it’s not gonna last forever, so enjoy it sooner rather than later!
Is This Method Safe for Kids to Do?
Yes, this method’s safe for kids, especially with a few safety tips in mind. Always use parental supervision to guide them through the process, ensuring they’re handling ingredients and ice with care.
Make sure they wear gloves when touching ice and salt to avoid skin irritation. Keep an eye on younger children, and encourage them to follow instructions closely.
With your help, they’ll enjoy a fun and safe ice cream-making experience!
Conclusion
You’ve just whipped up a delicious batch of homemade ice cream in a bag, talk about a sweet victory! With just a few simple steps, you can treat yourself and impress friends and family alike.
So don’t let this opportunity pass you by; grab your ingredients and start shaking! Remember, the sky’s the limit in terms of flavors.
Enjoy your creamy creation, and don’t forget to share the joy and the ice cream in a bag along the way!